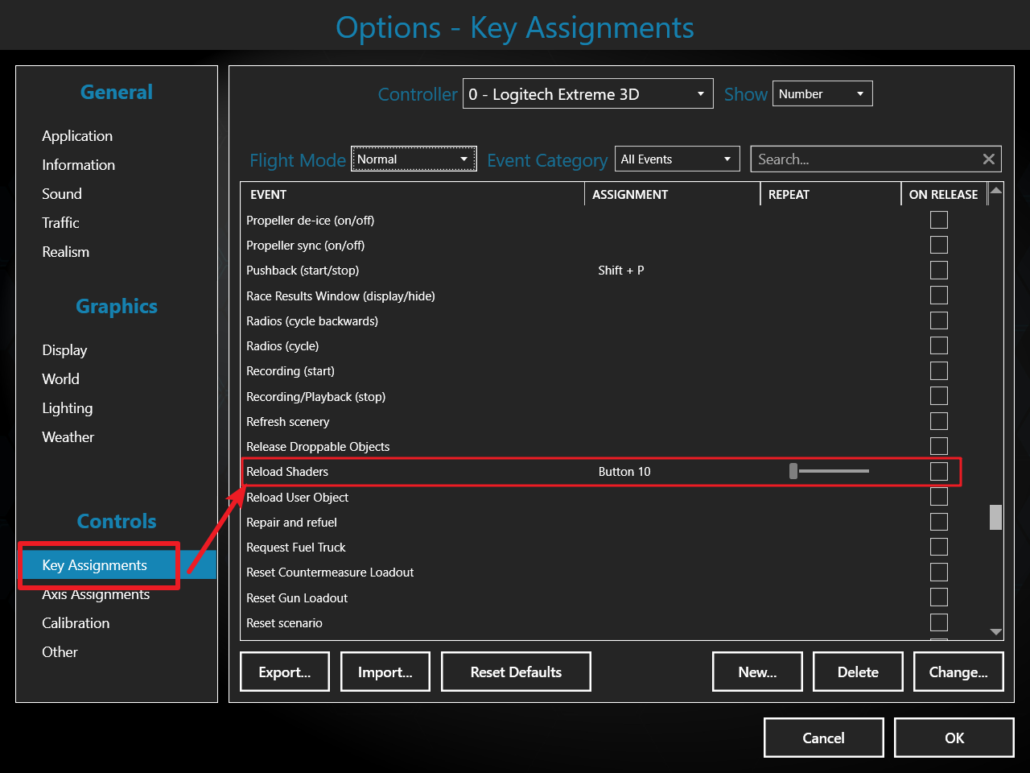
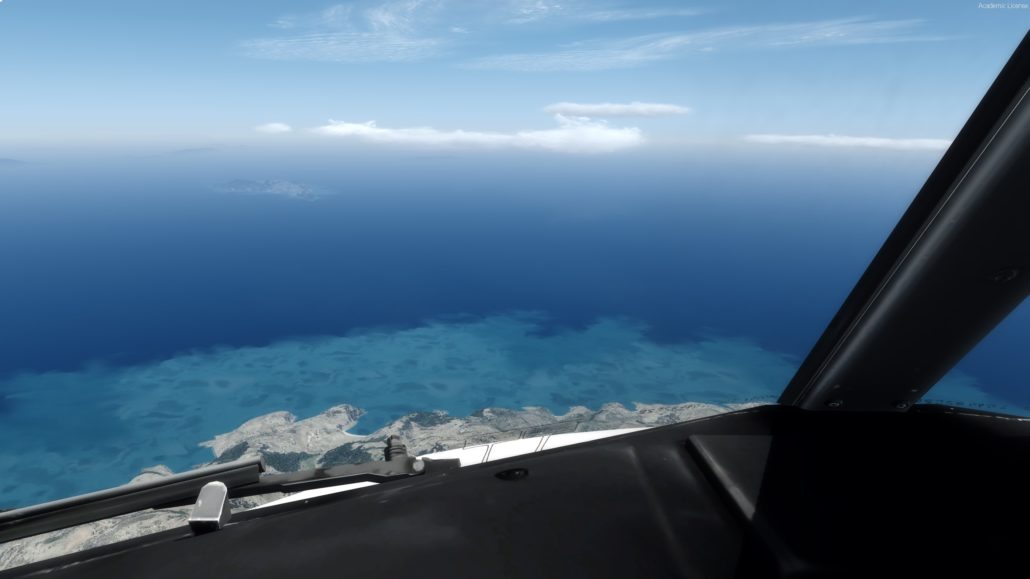
Microsoft Flight Simulator has a nice little feature that will help you grab some nice screenshots. Using the drone camera , you can manually handle the depth of field of your frame.

Although the feature is helpful, it does not guarantee automatic majestic screenshots. Some points that i have found useful for its use:

  • Do NOT overuse it.
  • Depth of Field works closely with Zoom. you will see that most of the times it will not look as good if you don’t zoom on your subject.
  • By zooming you will notice that the scenery becomes less pretty , according to your settings. This is where this feature will save your screenshot, by blurring the background.

Setup keyboard bindings for manual depth of field handling

Go to Keyboard bindings and setup 3 keys:

  • TOGGLE DRONE DEPTH OF FIELD
  • DECREASE DRONE DEPTH OF FIELD
  • INCREASE DRONE DEPTH OF FIELD

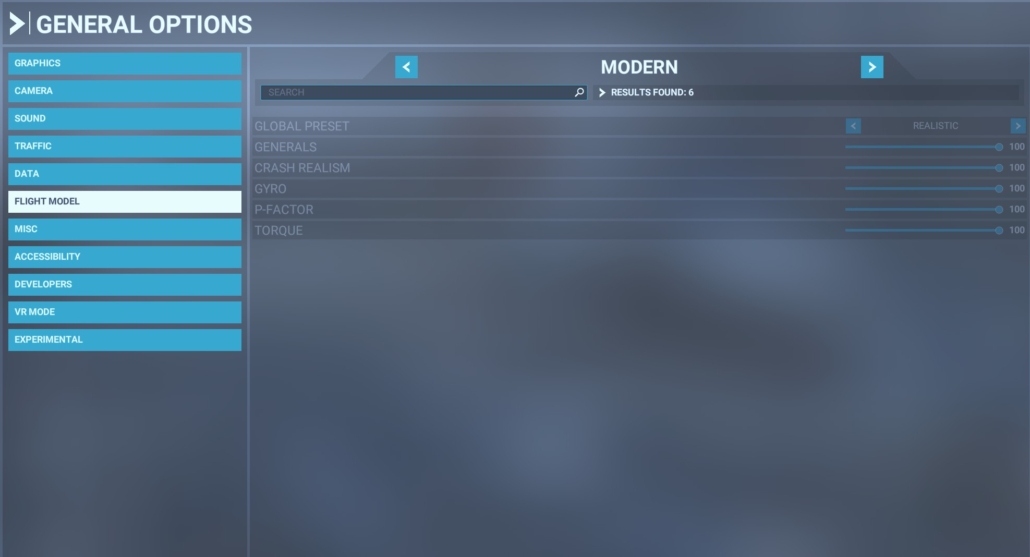
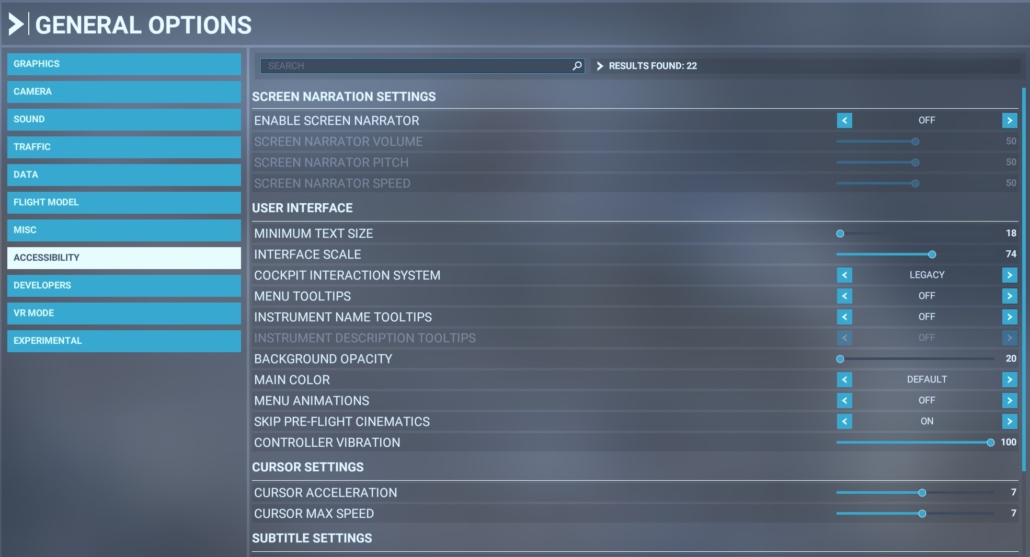
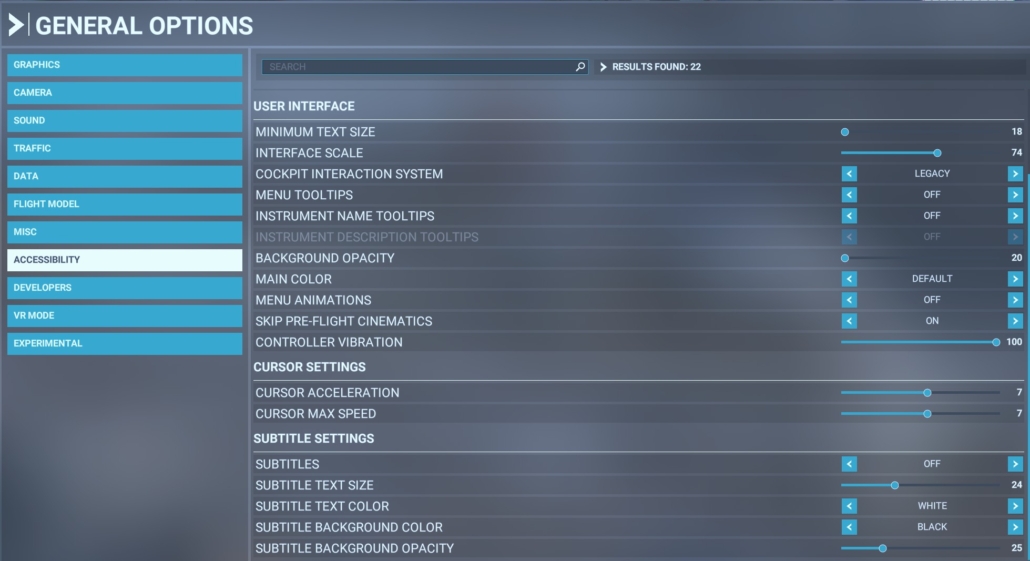
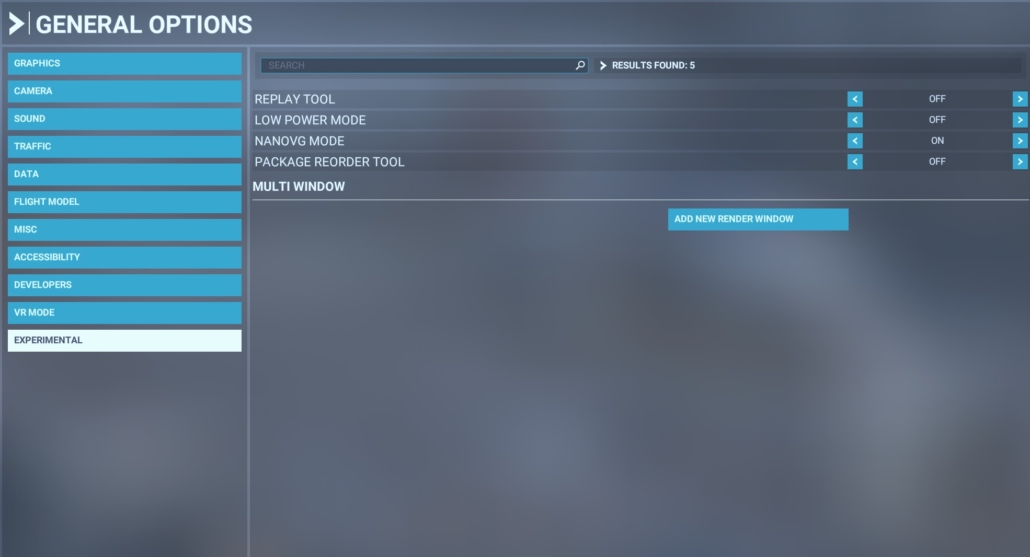
Don’t forget the enable the Depth of Field in general settings:

You can assign whatever keys you like, i have personally assigned F1,F2 and F3:

My Keyboard bindings for DoF

Basic use example

We are located at Mariscal Sucre International Airport (SEQM). Ready for takeoff and a curtain of rain in front of us.

In the first picture the effect is off:
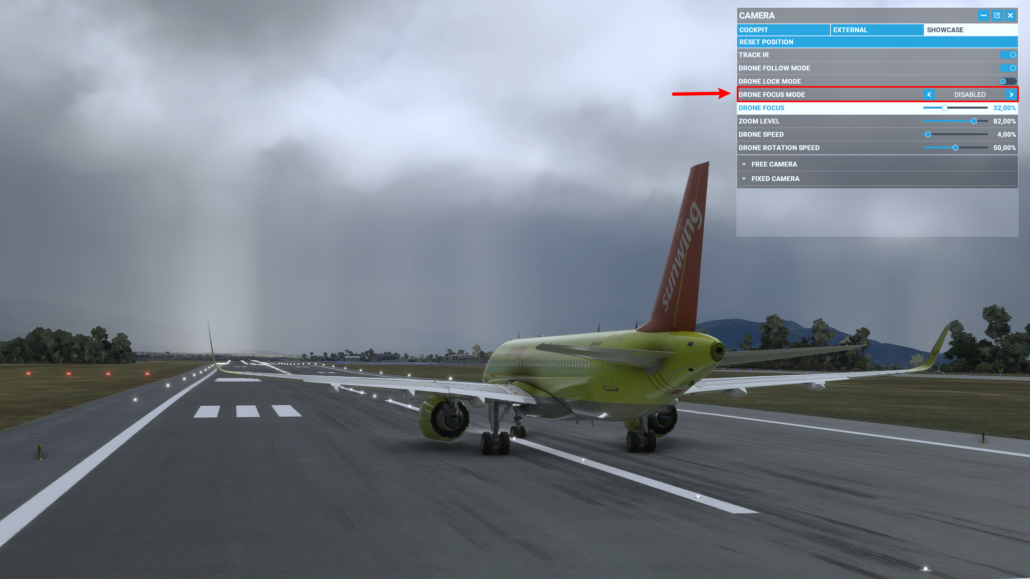
Enable the effect by pressing F1 or just by selecting from the option window. Press F2 all the way to get the focus to 0%:
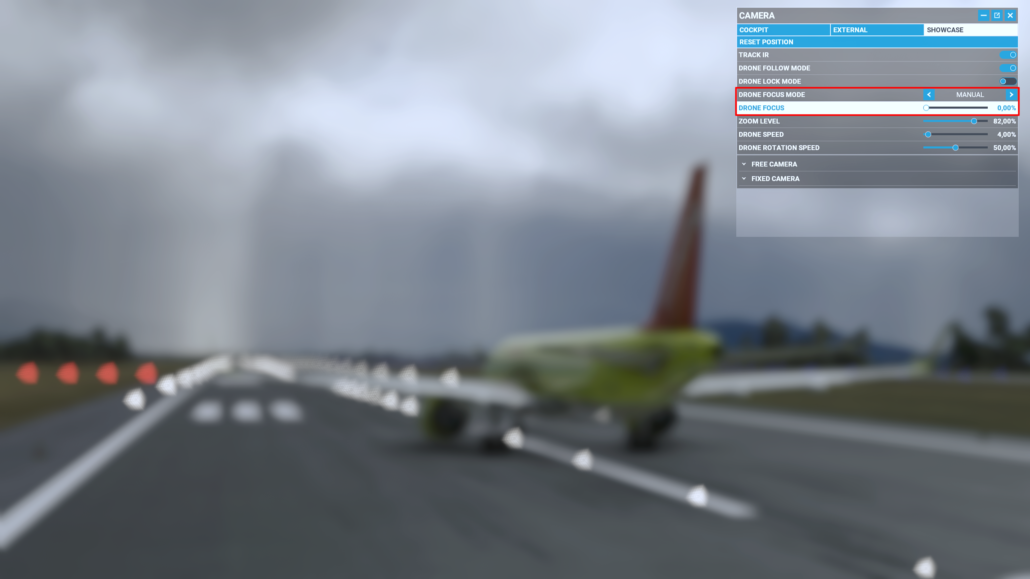
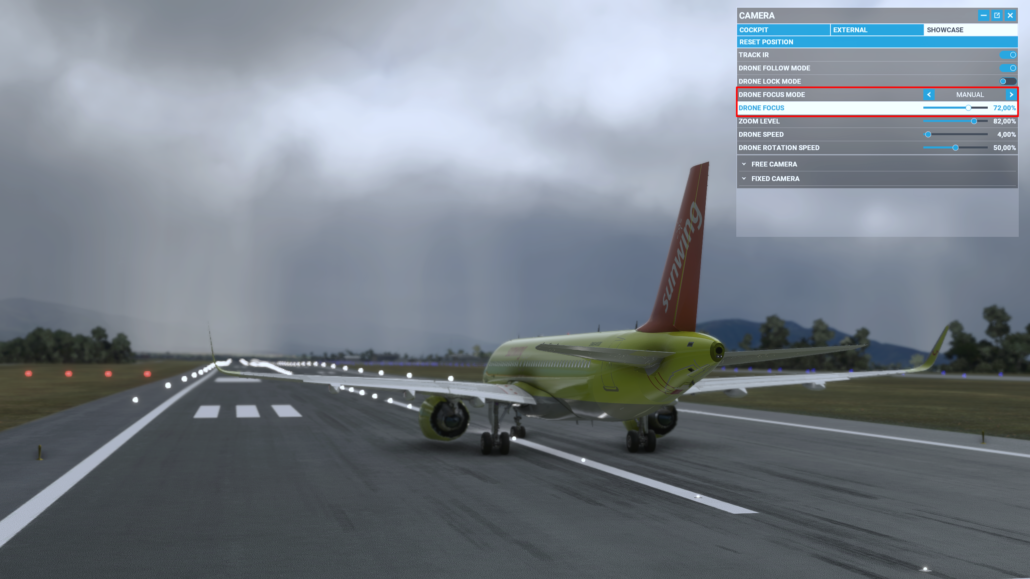
By pressing F3 or by dragging the drone focus slider we find the sweet spot which in our case is 72%:
My PC setup

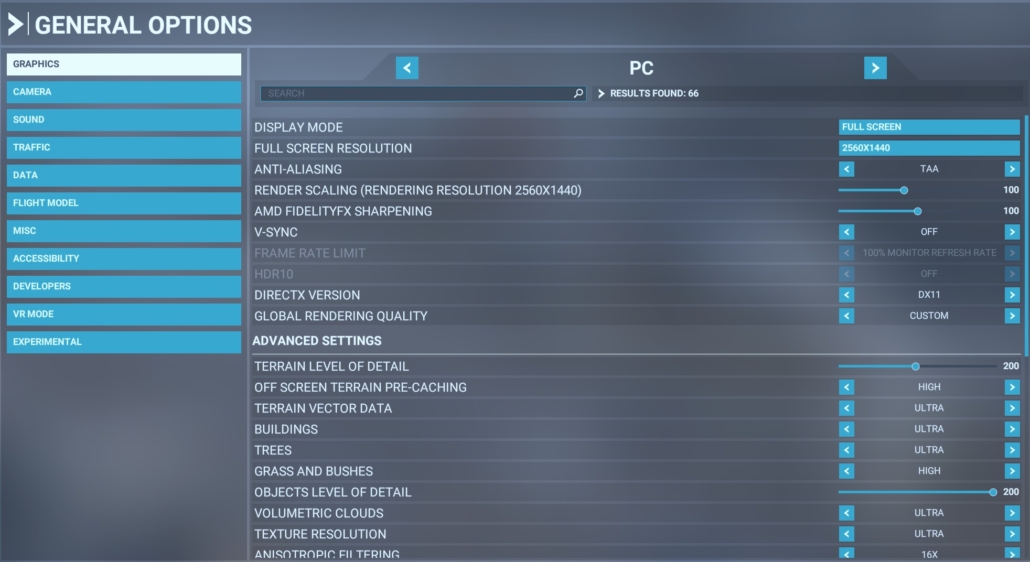
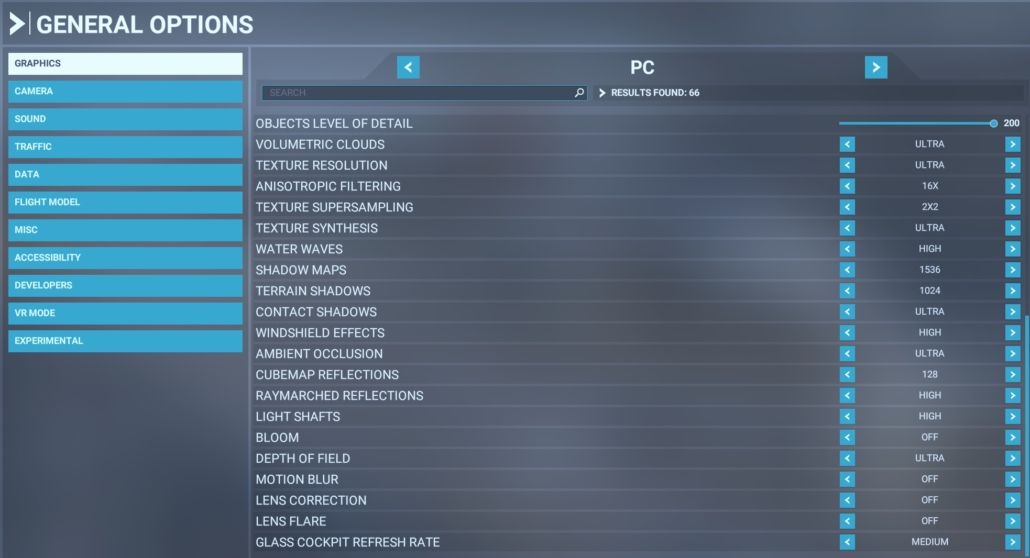
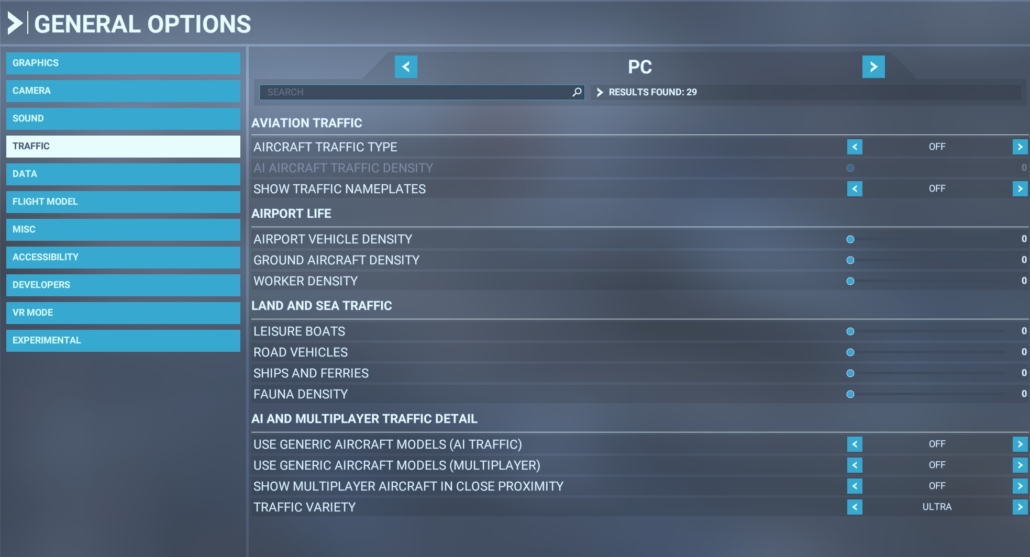
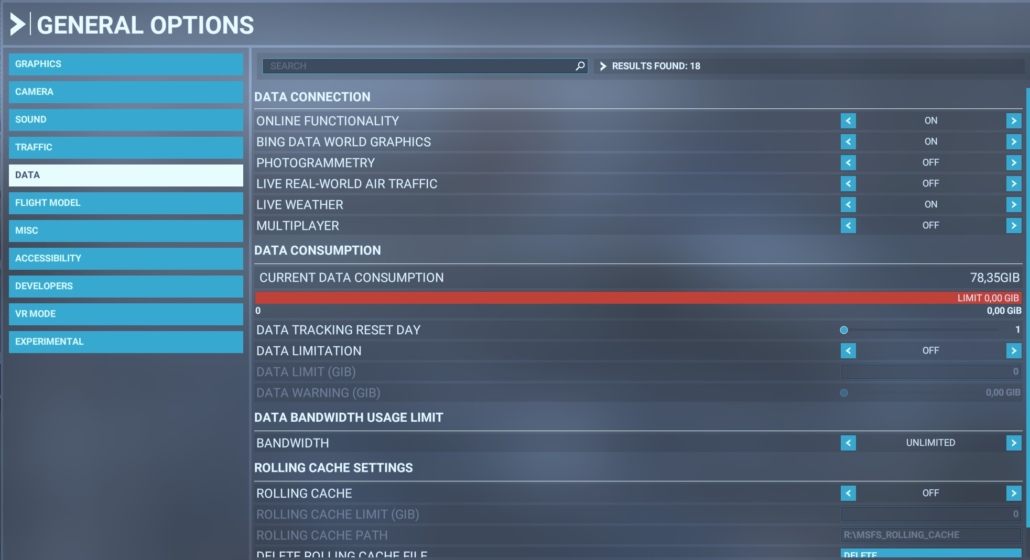
Except the settings below , i have also tuned the colors with NVIDIA Freestyle.

My current rig setup:

  • CPU: i7-8700k overclocked to 5.0Ghz
  • GPU: MSI 3070 8GB
  • RAM: 32GB
  • HDD: SSD
  • Resolution: 1440p

Settings

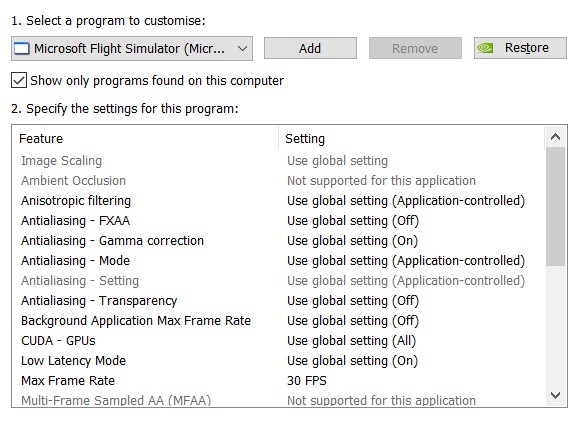
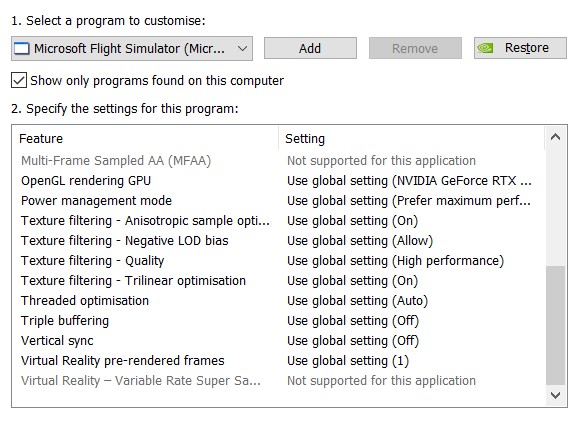
Nvidia Control Panel settings

Disable SHARPEN in Flight Simulator post-process

Flight Simulator post process the image before it is being shown to the screen. These options do not exist in the UI. you can find them in the file UserCfg.opt which is located in the LocalCache directory which can be found in: C:\Users[Your User Name]\AppData\Local\Packages\ Microsoft.FlightSimulator_8wekyb3d8bbwe\LocalCache\Packages\

  • Make sure Flight Simulator is NOT running.
  • Open the file UserCfg.opt with a text editor (e.g. Notepad) and navigate to the bottom of the file.
  • Find the PostProcess section.
  • Change Sharpen from 1 to 0.
  • Save the file.
  • If the value changes after you exit the simulator , then make the file read-only.

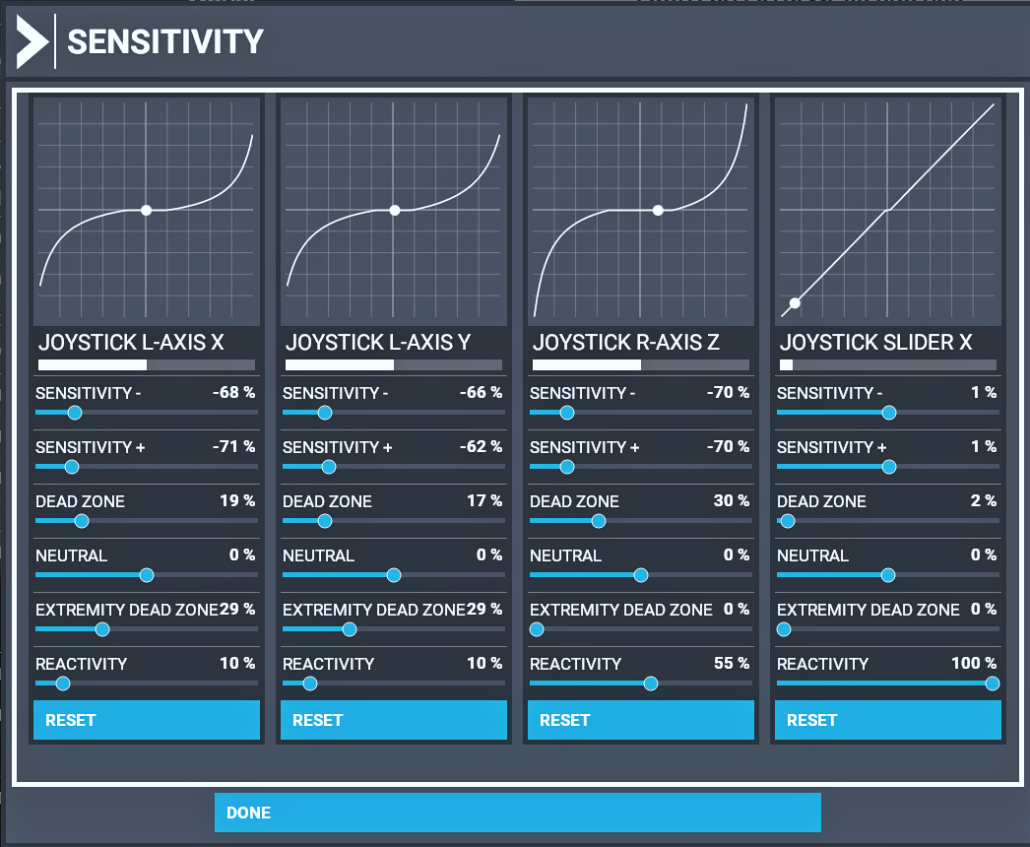
Logitech 3D Pro Sensitivity settings

Disable NDU via registry

  1. Open the Registry editor app (Regedit) again and navigate to HKEY_LOCAL_MACHINE/SYSTEM/CurrentControlSet/Services/Ndu.
  2. Find and Right-click on the Start option and click on Modify.
  3. Change the value from 2 to 4 and click on OK and reboot system.

Original post from MSFS forum: LINK

A sort breakdown of the mods that i currently use in MSFS.

Online Flying

  • vPilot. VATSIM connectivity client.

Utilities

  • PTTBuddy. Automatic volume management. Created by me.
  • REX Weather Force 2020.
  • PushbackHelper. Free utility for pushback.
  • CaptureFS. A free utility to automate screenshot capture for creating timelapses. Created by me.
  • NVIDIA Freestyle. If you own an NVIDIA this is currently the way to touch the shaders.
  • Little Navmap. I sue this for VFR planning. It has many useful features. I also use it for knowing what addon airports i have (they are indicated on the map with different color).
  • Lorby MSFS Addon Organizer. Great tool from the P3D era. I use this to enable/disable add on airports without editing content.xml. Also i use it to export my addon airports to a KML.This really helps when i want to choose where to fly from/to. It even shows the disabled airports on the map.
  • MSFS Addon Linker. A great must-have utility to organize all the mods. It does a lot of things but what i really use and need is the ability to place my addons in whatever drive i need and add it to MSFS by junction links.

Aircraft & System Mods

Recently i wrote a post about enabling NVIDIA Freestyle and add some shader support for Microsoft Flight Simulator.

In this post i am giving you my personal settings that i am using.

I really don’t like the over-saturation and the cartoon look of MSFS , so i tried to bring the colors close to reality as much as i could, for my eyes at least.

We will need access for MSFS shaders where we will have the ability to adjust colors and settings per section of the sim and not an overall touch as Freestyle is doing.

These are some samples from the shaders in use:

The filters that i am currently use , with their respective values are:

  • Brightness / Contrast: 0,0,30,-10,0
  • Color: 34, 20, -21 , -21

You can visit my MSFS Media Gallery where you can view my captured images using the shaders.

Time-lapses are videos created based on the technique of taking a sequence of frames at set intervals to record changes that take place slowly over time. When the frames are shown at normal speed the action seems much faster.

Moving Time-lapses also exist. The difference in these is that the camera moves during the recording of the screenshots.

The basic Time-lapse workflow for creating them is:

  1. Think what you need to do

    First you need to think what you need to do. Do you want to create a 30 seconds video of a sunrise/sunset? Or you need to create a 30 seconds video of a shorter period, like 10-20 minutes event? the only thing you need to do is to calculate how many seconds you need to set up to take the screenshot. If you want a video of 24fps it means you need 24 screenshots for 1 second of final video. You can use a time-lapse calculator. One of them is https://www.photopills.com/calculators/timelapse

  2. Boot up MSFS and set it up

    I am using the Drone camera to take the screenshots. I am adjusting the Drone camera speed and drone camera rotation speed in order to get a smooth movement after i stich them together (in case i need moving timelapse). If you just need to make a simple time-lapse , just set you camera where you want it to be and check below for the screenshot utility.

  3. Set up your traffic

    I am usually making my time-lapses with VATSIM traffic or with Real-Time traffic option from MSFS. Fro VATSIM i run vPilot and disalbe ALL traffic from MSFS.

  4. Automatically take screenshot from MSFS based on interval

    I have created a freeware utility that does exactly this. you can find it here: CAPTUREFS. With this util you can set the interval and let it capture the screenshots for you. If you have the FSUIPC7 running , you can also make moving time-lapses. You can define the direction of movement of the camera before every screenshot. In the end this will give you a result that is like the time-lapses i have created. See below for samples. Check the intro video of CaptureFS.

  5. Stitch the images together to create the video

    You can use any video editing software out there. I am personally use Davinci Resolve. You can even use Windows Movie Maker or any other tool out there (Filmora e.t.c).


Notes / Samples:

Settings:

  • Drone Camera speed: 4
  • Time Interval: 4 seconds

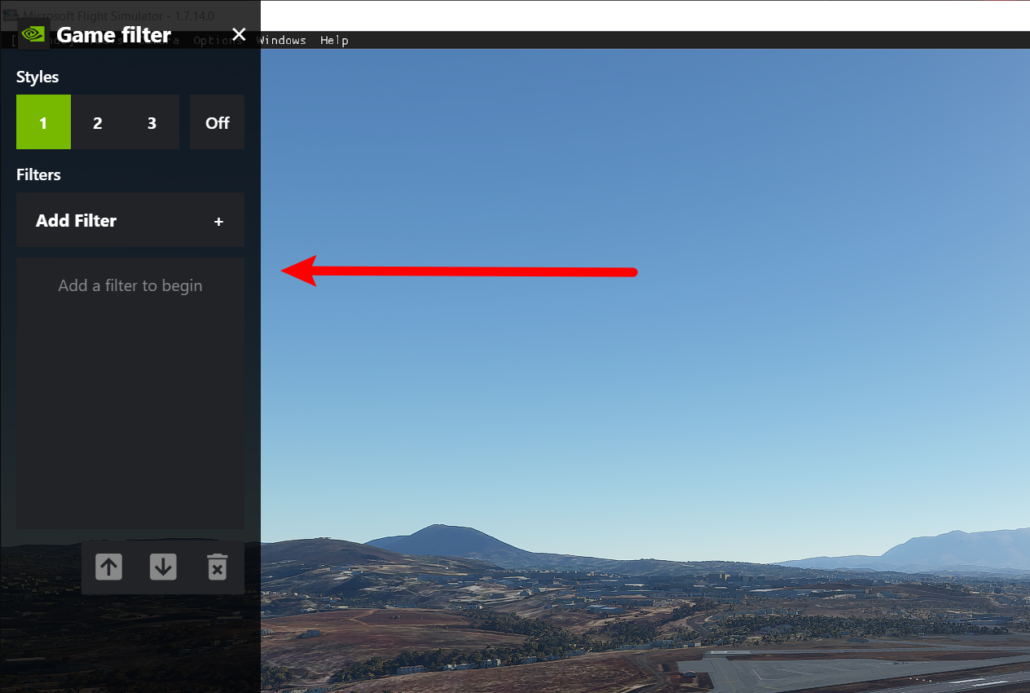
Make sure that you have updated both GeForce Experience & NVIDIA drivers to the latest available.

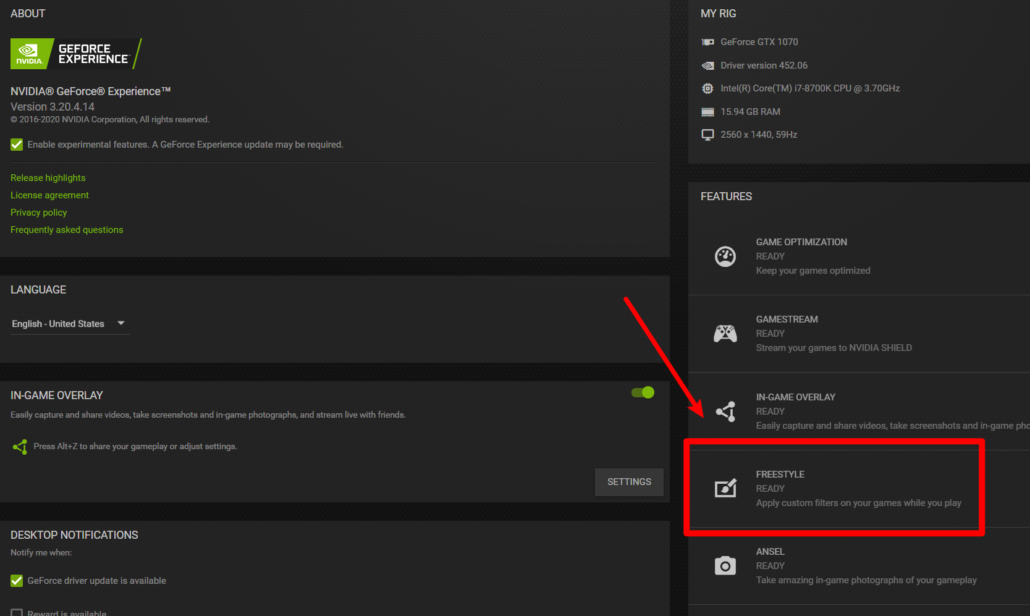
In order to use NVIDIA Freestyle with GeForce Experience, make sure that is enabled by enabling the “Experimental Features”:

Go to Settings:

GeForce Experience Settings

And enable “Experimental Features”:

Experimental Features

After restarting GeForce Experience you will be able to check and see that Freestyle is enabled in the same settings window (Bottom right):

You can now start Microsoft Flight Simulator and use Freestyle by pressing ALT+F3:

NVIDIA Freestyle enabled by ALT+F3 in MSFS

Add Reshade filters to NVIDIA Freestyle

GeForce Experience now natively supports Reshade filters.

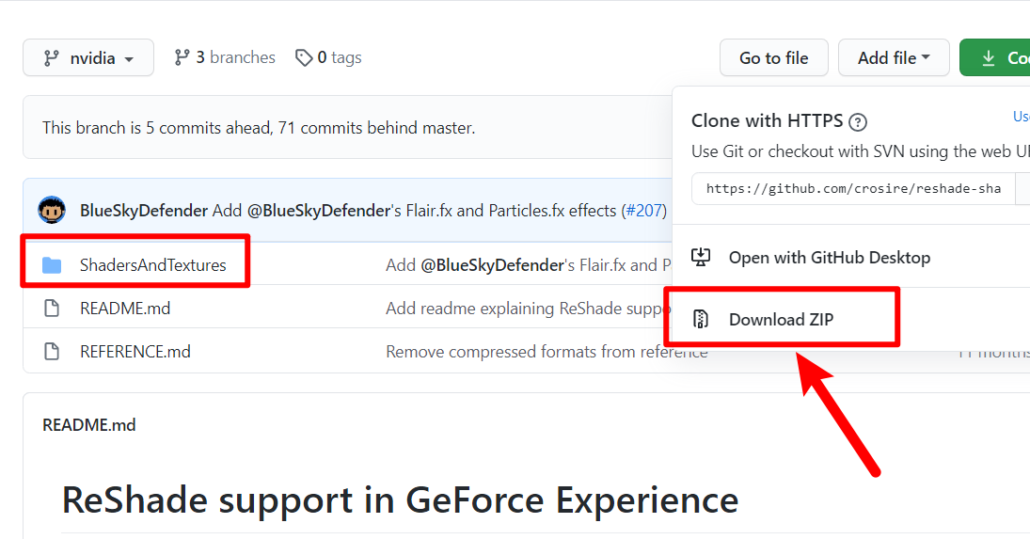
Head over to https://github.com/crosire/reshade-shaders/tree/nvidia and download the repo zip file:

Reshade Filters repo

Go to your local hard drive location where NVIDIA keeps the filters. This is located in C:\Program Files\NVIDIA Corporation\Ansel

NVIDIA filters location

Just put the contents of the ShadersAndTextures fiolder of the zip file, the Ansel folder:

Finished!!! You now have available all the shaders in Flight Simulator:

ALL shaders available to NVIDIA Freestyle

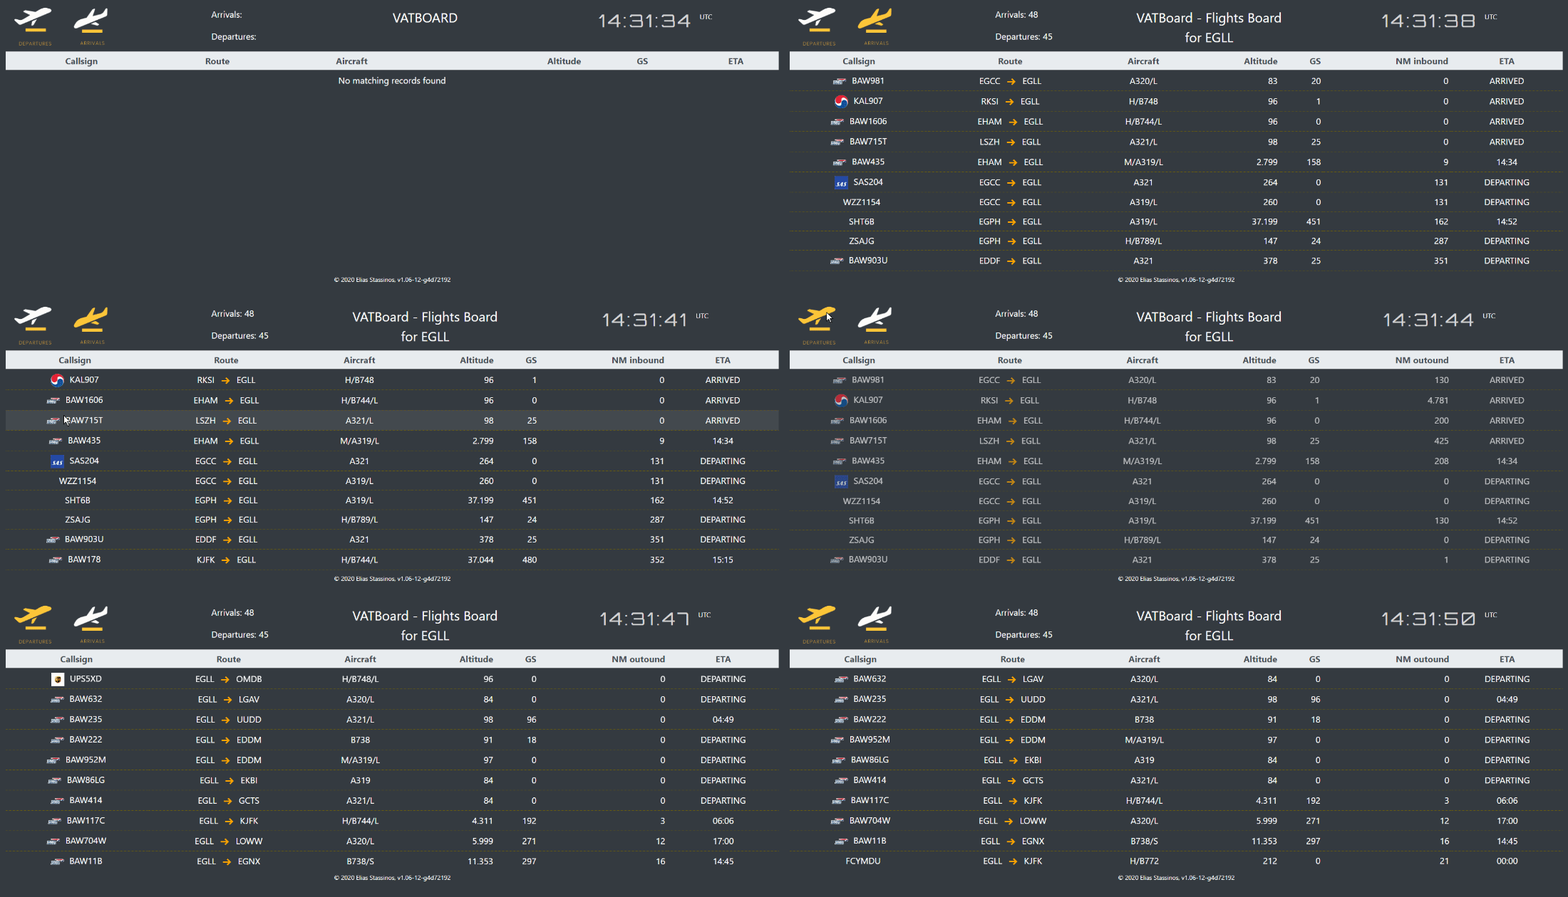
VATBOARD.WEB is the web version of VATBOARD.

Location

Head to http://vatboard.estassinos.com

GitHub

Project’s page: https://github.com/e4rthdog/VatBoard.Web

Features / Operation

URL Parameters:

VATBOARD shows the first 10 arrival flights and starts automatic scroll if there are more. When the list scrolls to the end it switches to departures and starts again to scroll down if there are more than 10 flights.

After 2 minutes the data are refreshed and everything starts over.

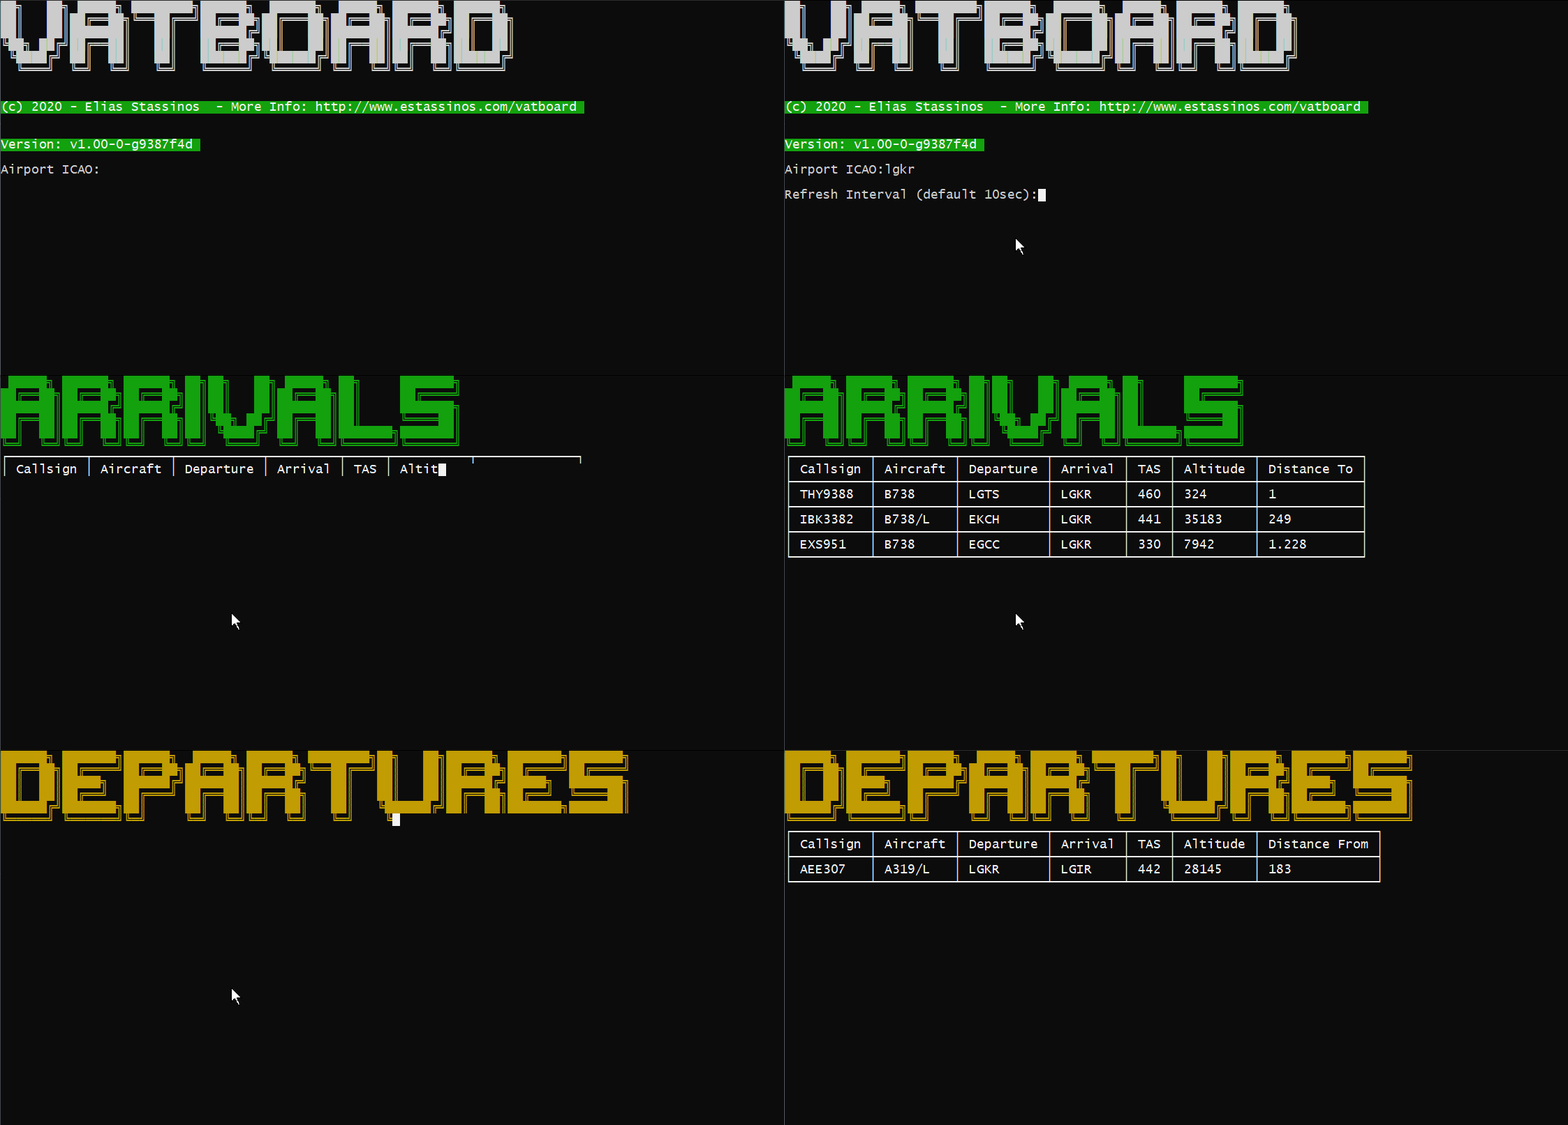
VATBOARD is a console app that shows the arrivals and departures of an airport in VATSIM network.

My primary use for this application is to use it as an overlay while streaming Euroscope to my twitch, but you can use it in any way you like.

Download / Installation

Head over to my Github page to download it: Latest Release

Download the zip file and extract it. Double click on the .exe file

Reporting Issues / Questions

Please report your issues & questions to Github page.

You can email me at elias.stassinos(AT)gmail(DOT).com

Features/ Operation

When the app runs it will ask you for the airport ICAO code that you want the info for and also for a refresh interval. If you leave the interval blank, it will default to 10 seconds.

The app will download afterwards current VATSIM data and the board will go live.

It will first show the Arrivals and then the Departures.

The application will detect the size of your console window and when data reach the bottom line the app will wait for 4 seconds and then output the rest of the data.

After the Departures finish, VatBoard will wait for the interval you specified when you first run it.

See VATBOARD in action:

With P3D 4.5 there is an option to reload shaders without exiting the simulator.

Simply bind the “Reload Shaders” control to a button of your choice. Then open up PTA or Tomato, change the setting you like and save / install the shaders.

Use your Reload Shaders button and watch simulator refresh the shaders. Screen will go blank for some seconds though.

Here is the location of the new control assignment

Hi All!

I’ve been having requests for my .ini file. So here it is.

I will be including the change log on this post.

Do what ever you want with it.

***NOTE*** Currently i am still on P3D 4.1 so this preset will throw errors if loaded with latest PTA 2.61. If somebody fixes the issue let me know.

Download Link: Elias-Stassinos-v9

Changelog
=======

v9
- Reduced cloud lighting

v8
- Refactored Clouds

v7
- Upped Aircraft VC ambient daylight.

v6
- Reduced shadow light in VC and Aircraft
- Raised Specular
- Raised haze

v5
- Reduced aircraft saturation during day
- Added a little aircraft saturation only at night
- HDR Brightness to 1.10

v4 
-Initial Stable


If your GPU can handle it , there is a CFG file option where you must manually change the following option:

OPAQUE_SHADOW_TEXTURE_SIZE

The allowed values are 2048, 4096, 8192

You can also include this in your PTA ini file in custom tweaks section